14 Registering Your Account
Pressbooks is well-suited for several types of publishing projects. Whether you’re a community college instructor looking to create an open textbook or the author of historical romance novels who wants to publish on Amazon’s KDP, we’re confident that you’ll find Pressbooks offers powerful, easy to use tools to turn your manuscript into something readers can connect with.
1. Select the Most Relevant Option at Pressbooks.com
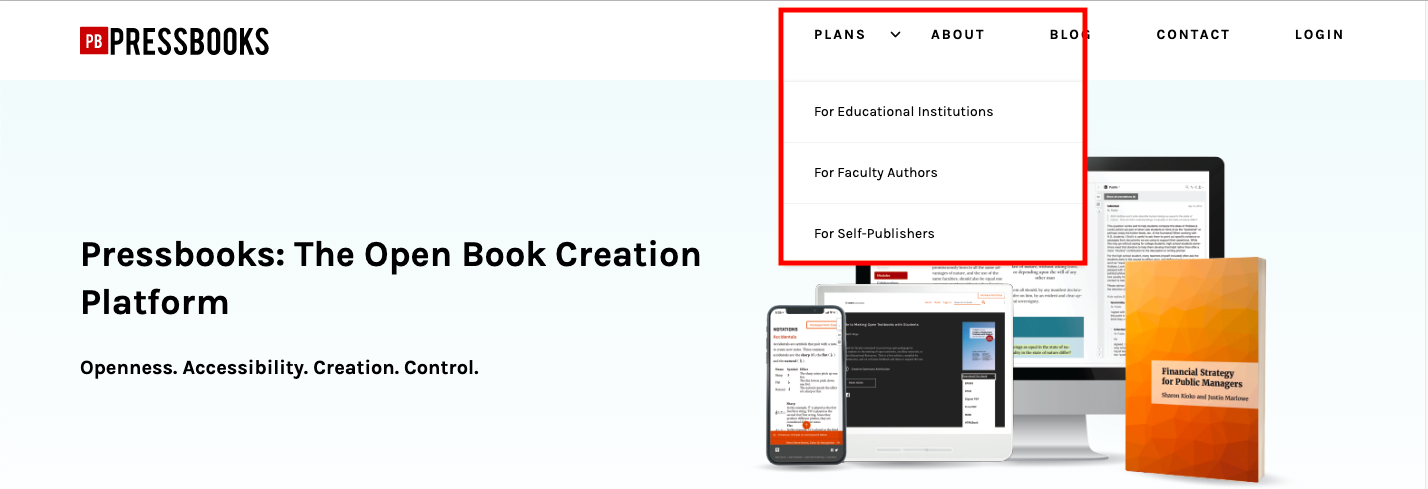
Visit Pressbooks.com and select either Plans > For Faculty Authors or Plans > For Self-Publishers to get started.
2. Click the Create An Account or Sign Up button
Each of these pages includes a button titled either ‘Sign Up’ or ‘Create An Account.’ Once you click the button, you’ll be brought to an account registration form.
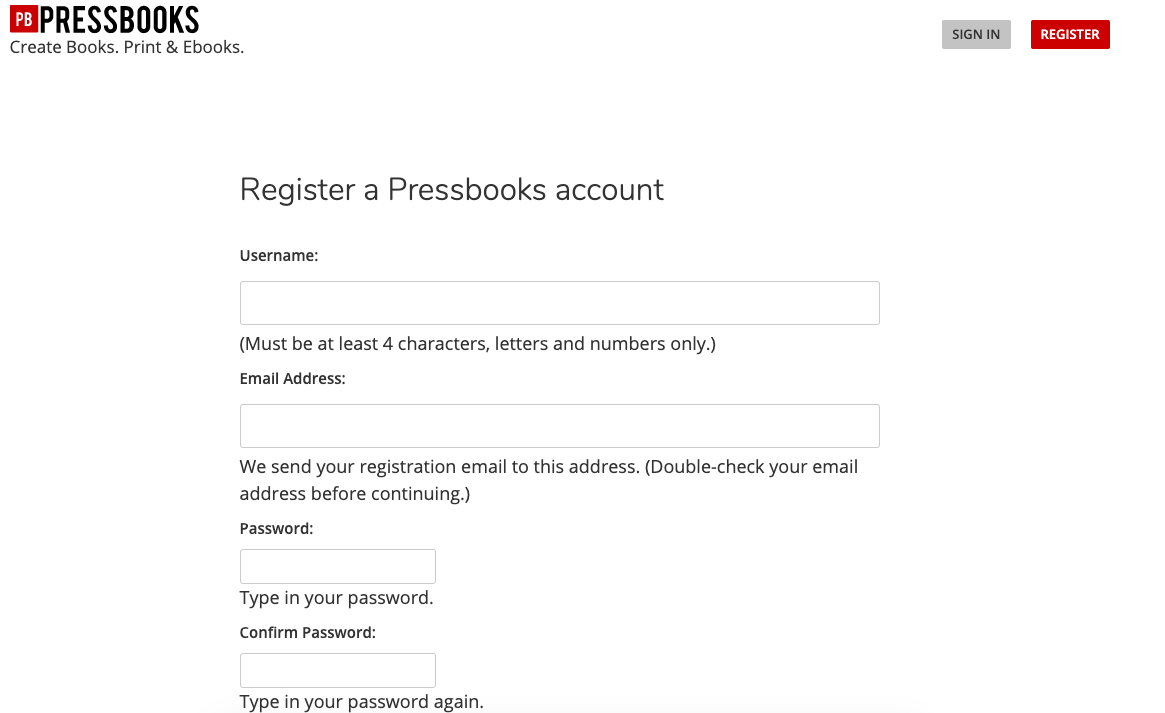
3. Fill out the account registration form
You’ll be asked to insert the following information:
- Your chosen username
- The email address you would like associated with your account
- A password
You’ll also be asked whether you’d like to register your book now or later. You can always create a new book at a later point, regardless of whether or not you create a book at the time of registration. There is no charge to create a book.
Once you’ve filled in the information in the form, click the NEXT button.
4. Choose a Web Address and Title for Your First Book (Optional)
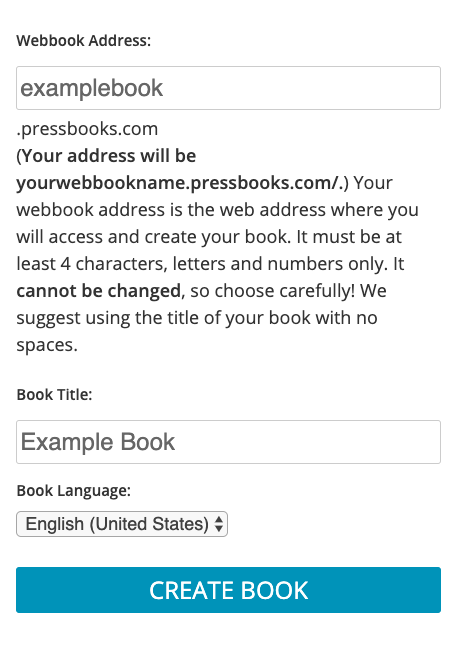
If you choose to register a book now, the NEXT button will bring you to another form that allows you to choose the webbook address, title, and book language of your first book.
The webbook address will be the URL that readers use to access your book online if you make your webbook public. You can also use the URL to access your private book. The signup form will automatically be filled in with your chosen username, though you can replace this value with whatever you’d like your webbook address to be. An example of a webbook address would be: examplebook.pressbooks.com
Please note that your webbook address must be at least four characters, and can only be made up of letters and numbers. Webbook URLs must be unique, so you may receive an error if you enter the address of a webbook that already exists.
Once you’ve completed the form, click CREATE BOOK.
You’ll be brought to a new page that states your username and your email address. You’ll also be asked to check your email account for a your account activation link. Once you’ve activated your account via email, you can log in to Pressbooks for the first time.
Register Without Creating a Book
If you’ve chosen not to register a book now, clicking NEXT will bring you immediately to the page that states your new username and your email address. You’ll receive an email with a link to activate your account. Once you’ve confirmed your account’s activation, you can log in to Pressbooks and get started.
Want Some More Guidance?
This guide is designed to give you the information you need to get started on your book. Keep reading for more.
Get Started!
You can start making a book right now! Register for Pressbooks here.


